Homemade Head Cheese
by Aimee
Well, after four and a half years of blogging in this space, here we are with a title that may or may not get me in trouble.
It was a short interview with Dan Barber that gave me the gumption to share this charcuterie tutorial of sorts. He was talking about his theory of The Third Plate and the need to support the whole farm with our eating choices. While he is slightly elitist in his approach, I have to agree with his thoughts on food sustainability.
The way I see it is, if you’re eating bacon, why not be open to trying delicious charcuterie made from other parts of the body? In the end, it’s all pork.
We attended a family pig roast a few weekend’s back and I was offered the head to bring home. Of course I said yes, and also took with me a literal bag of bones for stock, split pea soup and Mexican ranch-syle beans. Then the real fun began.
Now you should know that head cheese isn’t scary and it isn’t cheese. It’s tender, slow cooked pork that is packed into a terrine or mold, and set with a delicious broth which firms up into a savour jelly. My grandmother used to make it on the family farm in the Prairies and my mother loves it to this day.
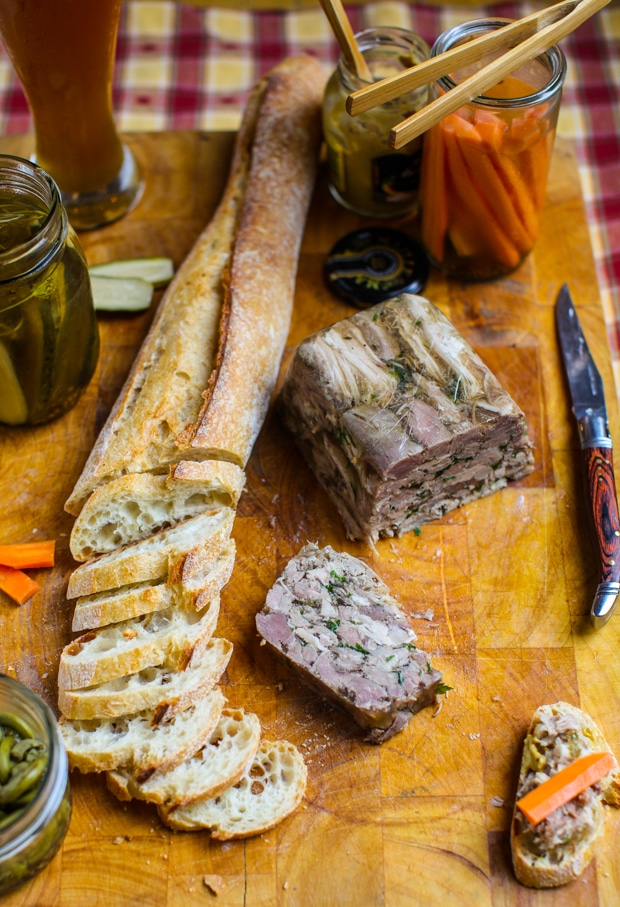
My version ended up similar to a meaty paté or pork rillette and didn’t hold together as well as the classic tête fromagée you’d find in Quebec deli’s. Still, it was rich and satisfying.
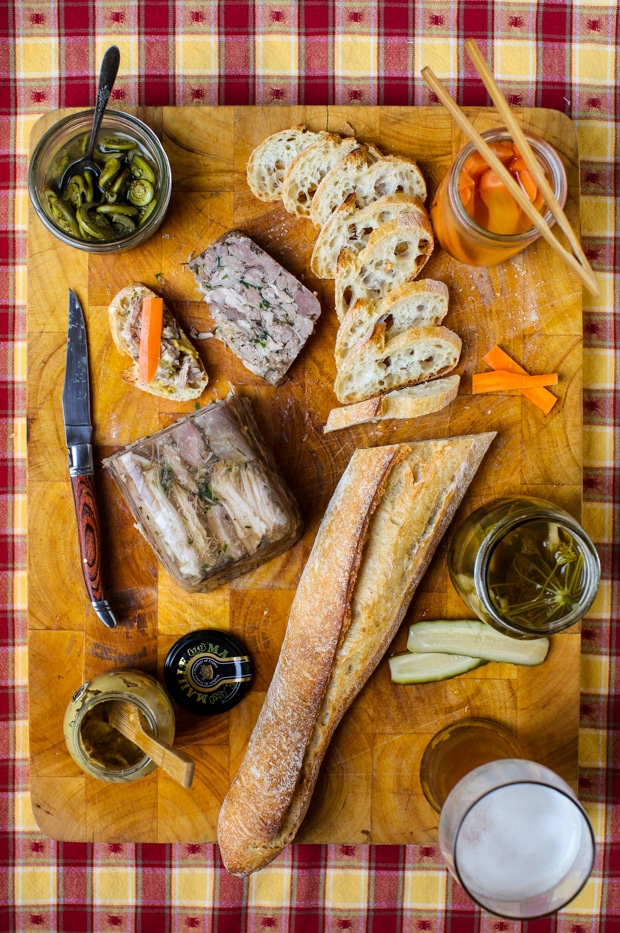
We smeared dijon with horseradish onto fresh baguette and piled head cheese on top. An assortment of pickles – carrot, garlic dill, and fiddleheads – provided the perfect garnish. The salt and vinegar from the pickles balanced out the rich head cheese.
Talk about addicting! Danny poured a beer and we snacked our Sunday afternoon away.
How to make head cheese: a method of sorts
Now, rather than give an exact recipe, I’m going to share the steps I took to make homemade head cheese. In no way do I claim to be an expert on the subject — truth be told, my head cheese needs perfecting — but if I can inspire one reader to attempt the same (and likely, better) my job here is done.
Traditionally head cheese is made from an uncooked pigs head, but mine had been slow roasted at the afore-mentioned family function. It contains plenty of meat and heaps of that superfood, natural gelatin.
Step 1. Simmer the head
I began by submerging the pig’s head in water in my largest pot. It looks terrible, it really does. And it’s not going to get any better, I’m sorry. I tossed in two pig hocks as well, because as I mentioned before, I had a literal bag of bones to use. The hocks contributed to the flavour and gelatine, but didn’t contribute much meat in the end.
To the pot I added:
- 1 heaping teaspoon of peppercorn
- 4 stalks of celery
- large bunch of garden herbs ( I had parsley & thyme)
- 2 bay leafs
- 4 large garlic cloves
- 2 star anise
- 1 teaspoon whole allspice
This formed the basis of my pork stock and I was off! I brought the stock up to a boil, then reduced to a simmer. I cooked it for 3 hours.
You could make up your own aromatics for the stock. I could have been more exciting, but this was my first attempt and I wanted to stick to the basics.
I apologize in advance if the following images make you squirm, but they are all part of the story.

Step 2: Collect the pork and strain the stock
This was the most disgusting part, but it goes fast. I recommend having a highly distracting podcast playing (thanks, Joy and Tracy) and don’t for one second thing about what you are doing.
OK. Roll up your sleeves! Collect a large bowl for bones and scraps and a smaller bowl for meat. Find large tray or baking sheet to work on. If you have a large slotted spoon or an Asian Spider Strainer grab one of those too. Now might be a good time to wear thin plastic kitchen gloves, although I didn’t have any around.
Fish out the head (it may have fallen apart with the slow cooking) and place it on your tray. (It helped to have the snout pointing away from me.) Basically, pull off the skin and get rid of it. Pull every single bit of meat off of the bones and place it in your ‘keep’ bowl. No need to dig around in the skull; we’re not using the brains. Or eyeballs. Shudder.
Cover the meat with a little stock, then wrap in plastic and refrigerate. I got about 4 cups of pork.
Once you’ve collected all the bones from the pot, it is time to strain the stock. Pour it through a fine sieve and into a large bowl or bucket. Cool to room temperature, then refrigerate so that the fat can rise and congeal.
Step 3: Built the head cheese
Skim the fat off of the stock and bring it to a boil in a large pot. Reduce it by about half, then season it with salt. Be sure to taste it and adjust the salt accordingly. Cool slightly
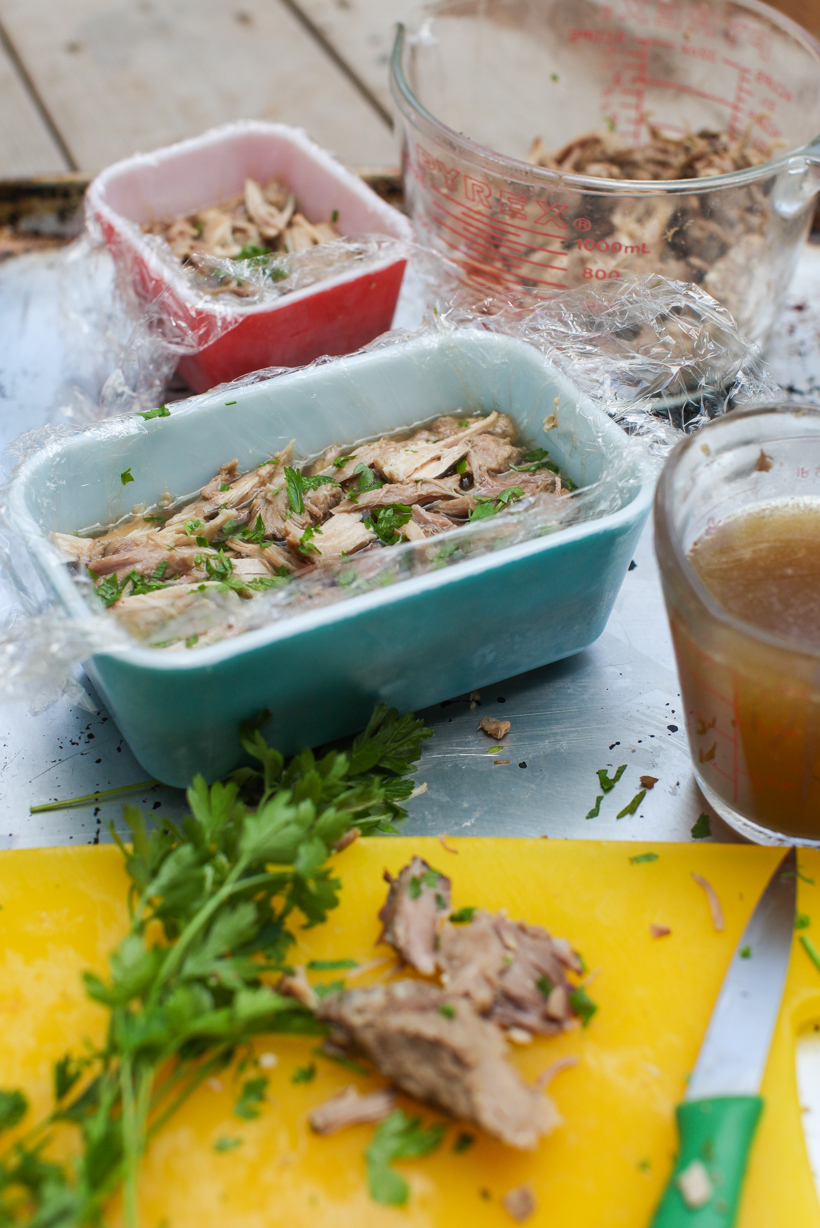
Line a loaf pan (or your mold of choice) with plastic wrap. Finely chop a few tablespoons of parsley. Shred the pork into strips and lay it in the loaf pans. Pour a little stock over the top and sprinkle with chopped parsley.
Repeat until all the meat is used up. Top with a little more stock, then place in the refrigerator to set. Chill overnight, minimum.
You will have leftover pork stock. Freeze it for soups or braising. Or reduce it to make homemade bouillon (recipe coming later this week).
To serve: unmold the head cheese. Slice with a very sharp knife. Serve with bread, mustard and pickles. Or make some fantastic Bahn Mi. Your call.
Thanks for reading! I know this was a little unusual for this space, but this was such a fun little project, I had to share.
Questions? Comments? Would you ever make head cheese?
Homemade Head Cheeseis a post from Simple Bites
© 2010-2014 Simple Living Media, LLC | All rights reserved - This feed is provided for the convenience of SimpleBites.net subscribers. Any reproduction of the content within this feed is strictly prohibited. If you are reading this content elsewhere, please contact kyle@simplelivingmedia.com to let us know. Thanks.