How to make a Chocolate Icebox Number Cake
by Aimee
It’s no secret that I like to play around in the kitchen, and today’s birthday cake is a perfect example of such amusement.
My leap year baby hits double digits this year, and since there is no 29th this month, we celebrated with friends and family last weekend. In the past he’s had a chess cake, an ice cream cake, and various other confections, but this year he specifically wanted an icebox cake.
The icebox cake is also know as a chocolate wafer cake or a Zebra cake, and consists simply of Nabisco chocolate wafters and sweetened whipped cream. In Canada, people use Mr. Christie chocolate wafers, and the ‘recipe’ is everywhere. My kids discovered this dessert one Christmas, when we made Joy the Baker’s icebox Yule log, and have loved it ever since.
When Mateo requested an icebox cake for his birthday, I decided to raise the bar and have some fun in the process.
There’s a number cake trend that has caught my eye on Pinterest and Instagram recently. These cakes are shaped like big numbers – 16, 30, 75…whatever the occasion – and they are delicate and pretty, yet are large enough to feed a crowd.
As I was expecting over 25 people for this birthday party, I got to work brainstorming a cake that was up for the task. It needed to have the flavours and texture of the classic icebox wafer cake but I wanted it to be in the style of a number cake.
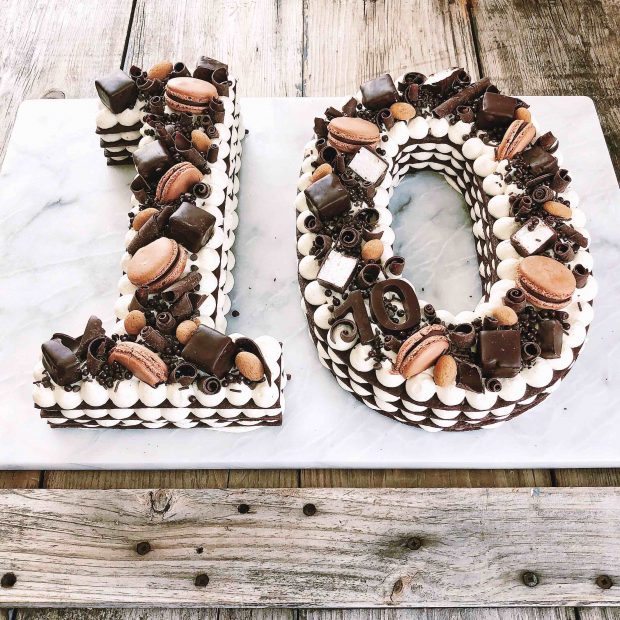
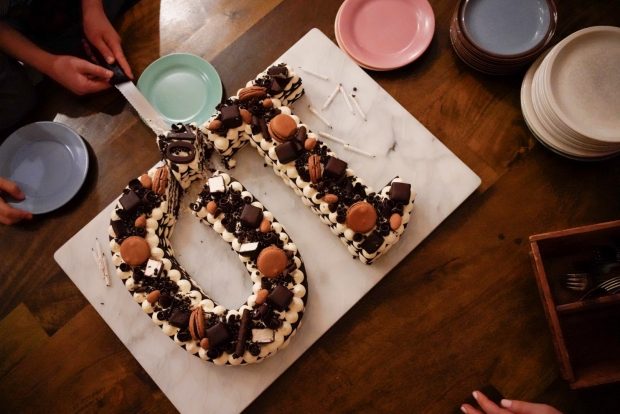
In the end, it turned out even better than I expected. Four layers of homemade chocolate cookies, shaped into ’10’, layered with cream and decorated with all sorts of bakery goodies.
I had so much fun making this creation! Mateo was thrilled with his icebox cake, and the guests loved it, too. I’ve decided to share a tutorial because this is such a fun party cake – and it can be adapted for any birthday number.
How to make a Chocolate Icebox Number Cake
Before we get started, let me note that this makes a very big cake. It serves between 24 and 30 people, however, the recipe is easily adaptable. Simply bake off any amount of cookies, in any shape you desire, then sandwich them together with sweetened whipped cream. I promise you, it’s that easy.
Also this icebox cake is not complicated to make, but it does take some time. You need to assemble it 24 hours before serving and the cookies have to already be baked off and cooled completely.
Suggested timeline for Icebox Number Cake:
- Up to 1 week before the party and at least 2 days before: Mix, roll and bake the chocolate wafer number shapes. Freeze them, well wrapped, if you do make them in advance.
- 2 days in advance: buy or make the toppings/decorations. Clean out the fridge to make space.
- 24 hours before serving: whip the cream and pipe it between the layers to assemble the cake. Cake MUST chill for 24 hours.
- 1-4 hours before serving: decorate with chocolate confections.
The Cookie or Wafer.
I adapted a recipe for homemade chocolate wafer cookies from King Arthur Flour. The challenge of making my cookies from scratch was just the sort of baking fun I was looking for, and would also allow me to cut them in any shape I desired. I never found the black cocoa that the recipe called for, but I used a very dark cocoa powder, and that worked just fine.
I made double the recipe below and divided it into 8 balls. Each ball was enough to make one large, 14-inch tall letter: four ‘1’s and four ‘0’s. There were lots of scraps leftover, which I let Clara re-roll and cut into cookies. This part takes the most time, but it is not difficult.
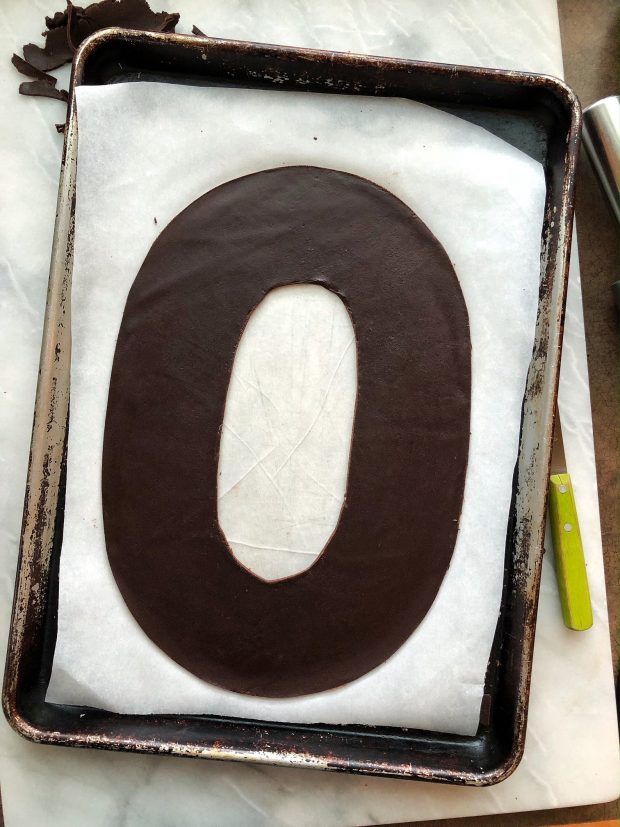
Tip! To get this perfect ‘O’, I traced the oval lid of my slow cooker onto cardboard with a pencil, and then cut it out with scizzors. I drew the inside oval free hand.
Pro Tip! Don’t scrap the oval inside of your ‘O’. Bake it off alongside the other cookie pieces. Then either freeze them all for another icebox cake, or make a mini icebox cake for back-up.
| Chocolate Wafer Numbers | 5.0 from 2 reviews | Print |
- 3 cups all-purpose flour
- 1 cup dark Dutch-process cocoa powder
- 1 teaspoon fine sea salt
- 1 teaspoon baking powder
- 1 cup unsalted butter
- 2 cups sugar
- 2 large egg
- 2 teaspoon vanilla extract
- Measure the flour into a large bowl, then sift the cocoa on top. Add the salt and baking powder and whisk until very well combined.
- In the bowl of a stand mixer fitted with the paddle attachment, cream the butter and sugar on high for 2 minutes. Stop the mixer and scrape down the sides of the bowl.
- Add the eggs and beat again. Add the vanilla and mix until incorporated.
- Stop the mixer and carefully tip in the dry ingredients. Stir on low until just combined. Turn the dough onto the counter and divide the dough into four balls (8 if you are doubling the recipe). Wrap the balls in plastic.
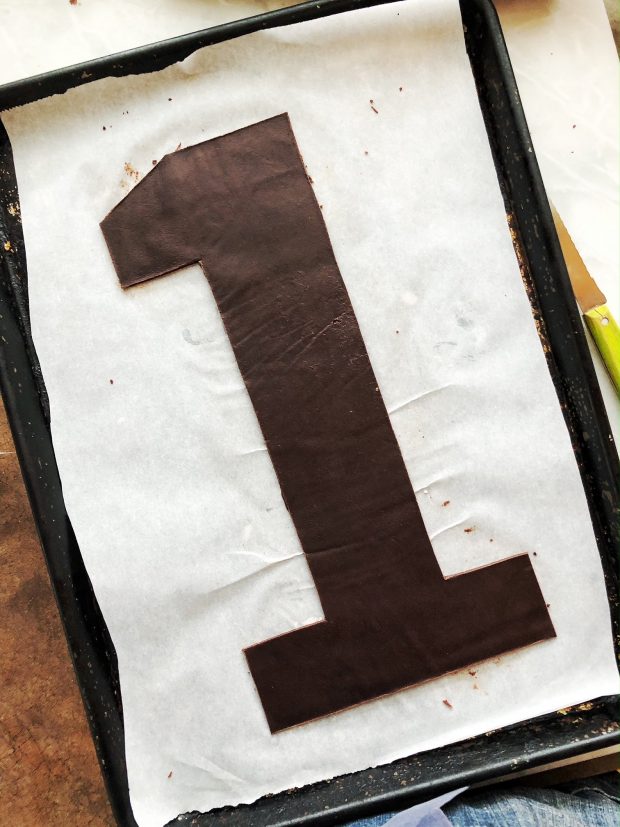
- Preheat the oven to 350F. Roll the cookie dough between two sheets of parchment paper until it is 1/4 inch thick (even thinner is fine). Make sure it is as large or larger than your cardboard number cutout. Transfer the parchment to a baking sheet and place in the freezer for 10 minutes. Roll the next ball of dough while you wait.
- Place the cardboard number on the chilled dough and cut around it with a knife, trimming away the excess. Bake for 10-12 minutes, then cool completely on a rack. Repeat the process: rolling dough, chilling, cutting the shapes and baking, until you have sufficient number cookie shapes. Cool the cookies completely before you assemble your cake.
The Chocolate Icebox Number Cake assembly
Decide on a base to hold your cake and make sure it will fit in your refrigerator. I used a marble serving slab, but a large tray or baking sheet would also work. You could even use a mirror. I don’t recommend using anything wooden.
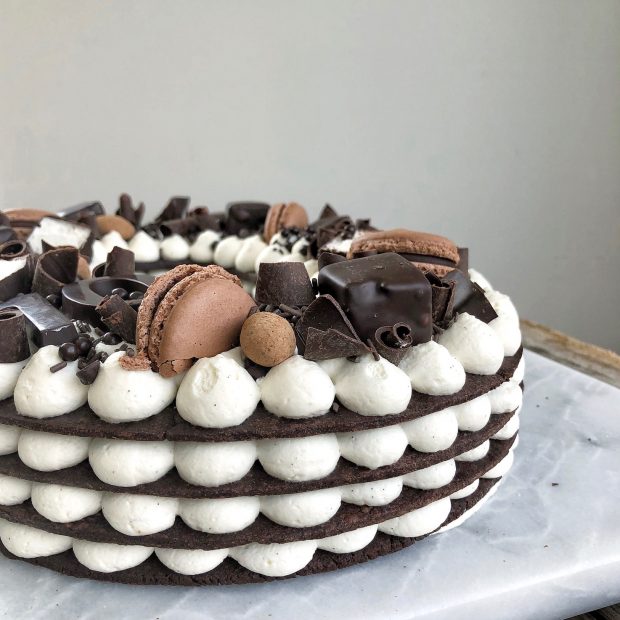
I used two full litres of 35% cream for this cake, whipped to firm peaks and sweetened with a little powdered sugar and a dash of vanilla. You will need a large pastry bag fitted with a #12 piping tip.
Fill the pastry bag with whipped cream and pipe a layer on the underside of your cookie letters. Turn them over and firmly stick them to the base. Pipe small, grape-size, dots of cream all over the cookies.

Once the number has been covered in cream, place a cookie number on top and press gently to adhere. Repeat the cream and cookie layers until they are four high, then cover the top with ‘kisses’ of whipped cream.
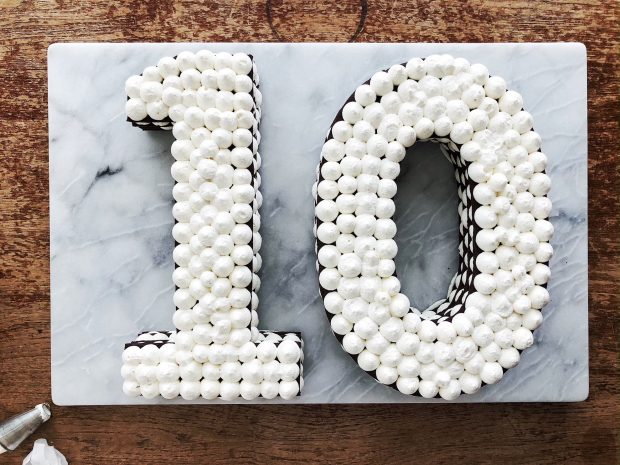
Your icebox number cake is complete and ready to chill. Place it carefully in the refrigerator and chill it for 24 hours. Any less time and the cookies will not be sufficiently soft.
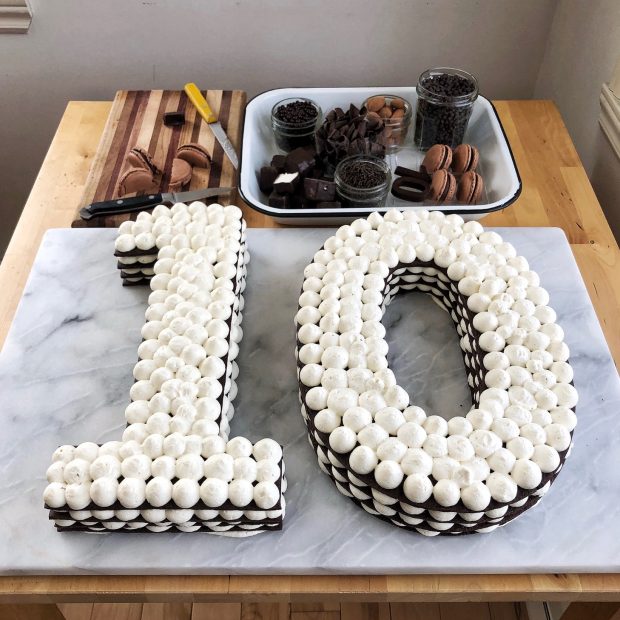
The Decoration:
This is that part where you can let your imagination run wild. I stopped off at a local chocolate shop and bakery and picked up all sorts of pretty goodies, knowing that I wouldn’t have time to make anything myself.
Chocolate covered marshmallows, chocolate macarons, mini chocolate chips, sprinkles… and chocolate curls….use whatever you like. Meringues would be pretty and fresh berries or flowers would be lovely for spring.
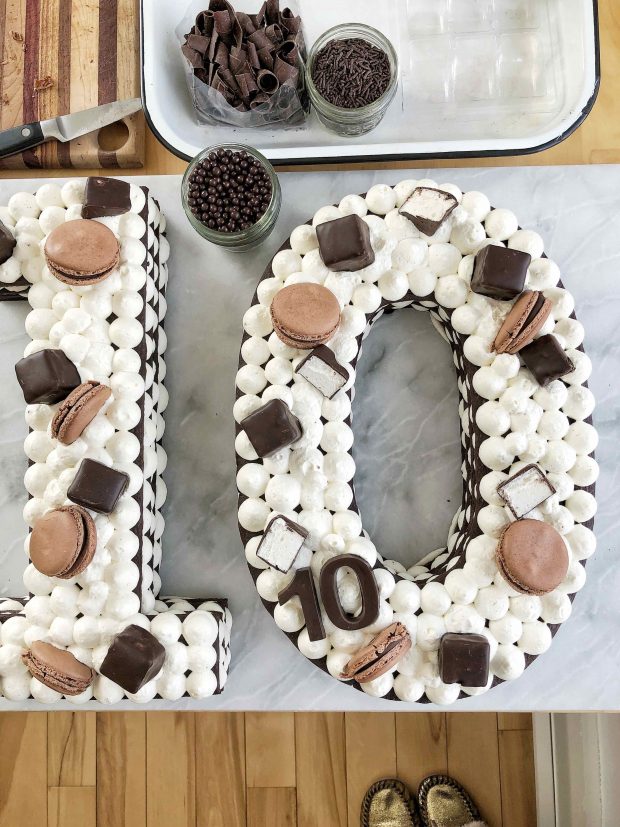
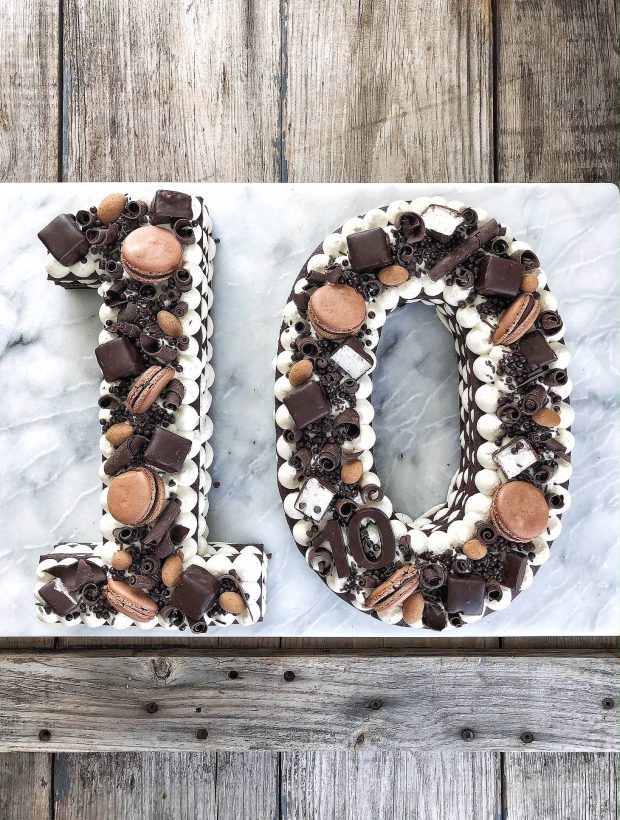
I added the larger treats first, spacing them out in a random, yet evenly spaced grouping.
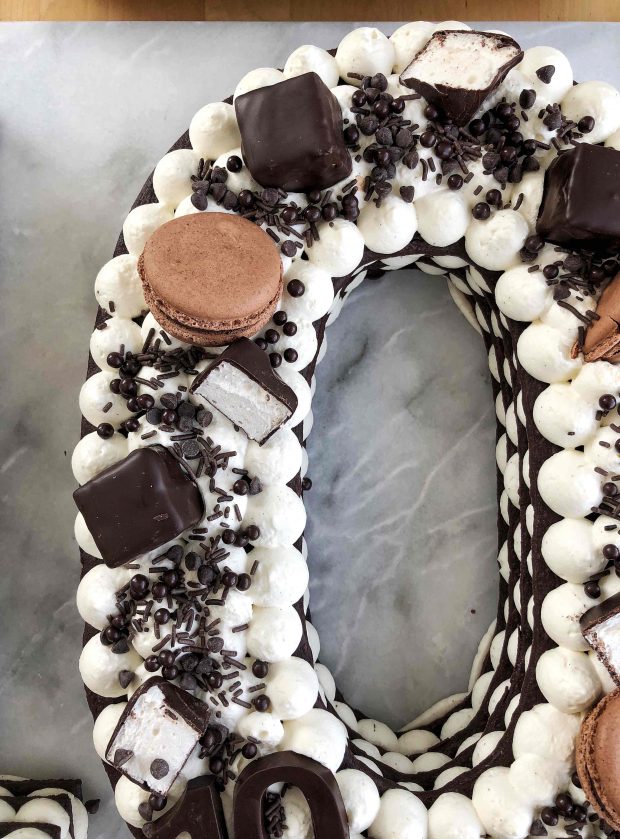
Next I filled in the spaces between the marshmallows and macarons with chocolate sprinkles, balls and mini chocolate chips. You’ll find that they adhere well to the whipped cream, still, take your time and add them slowly.

Finish with chocolate curls, tucking them in here and there to fill in any white spaces. I also added a few chocolate covered almonds and a chocolate ’10’ that I found at the chocolate shop. Now your masterpiece is complete!
You can serve at once, or chill for a few more hours. The macaron garnish will soften slightly, but other than that, the cake is perfectly fine to hang out in the fridge until party time.
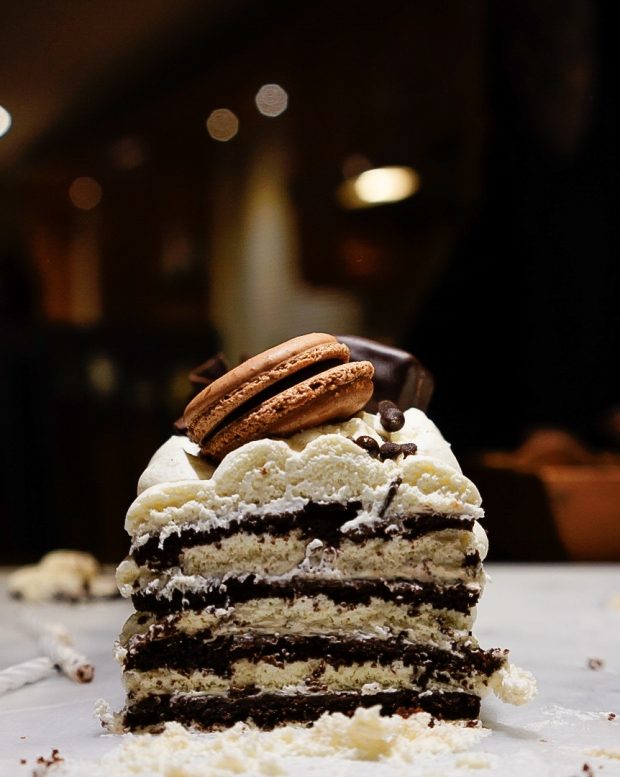
This Chocolate Icebox Number Cake slices up beautifully, as you can see in the image above. It’s rich and moist, perfect for a special occasion.
Party Time!
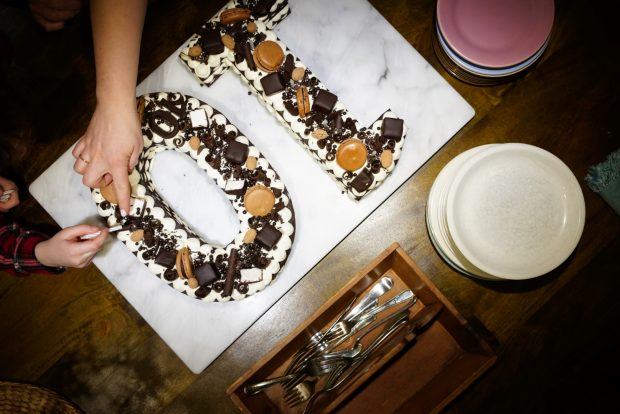
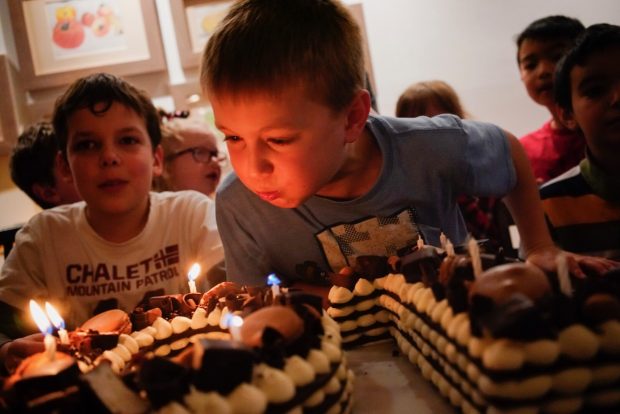
Above four photos by Tim Chin.
I can’t say it enough, this cake was fun to make and I can’t wait to make different versions of it and keep playing around. I think it would be lovely with fresh sliced strawberries for a spring or summer birthday. Hmmm…I do know a few people turning 40 this year….What number would you make?
Leave me your questions in the comments and I’ll do my best to answer them all.
How to make a Chocolate Icebox Number Cakeis a post from Simple Bites
© 2010-2017 Simplebites | All rights reserved - This feed is provided for the convenience of Simplebites.net subscribers. Any reproduction of the content within this feed is strictly prohibited. If you are reading this content elsewhere, please contact hello@simplebites.net to let us know. Thanks.